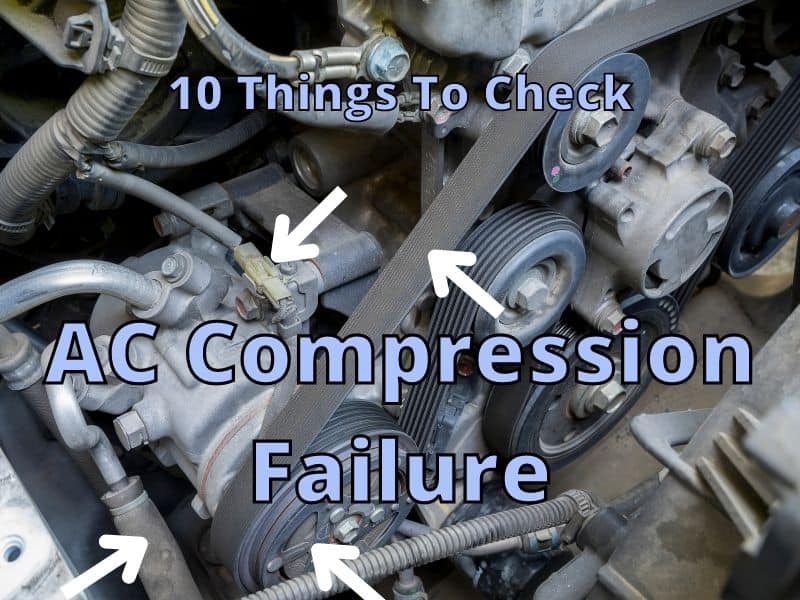
Your AC compressor can fail when it has low freon levels, a stuck valve, or if the compressor clutch is not working anymore. When your car air conditioner starts to act strange there could be a number of reasons why, but one common reason is the compressor.
Common areas to check to see if your AC compressor has failed or not:
- Check if the air temperature is warmer than normal. Usually, the first indication of a problem. Starting the car and pressing the peddle to 2000-3000 RPMs while the car is in Park. Feel if the air gets colder and colder as you continue to press the peddle at 2000-3000 RPMs. This likely means the AC compressor isn’t working as it should.
- Check if you smell something? According to some, you can smell a sweet smell if you have a freon leak. Be sure to check for an antifreeze leak, because both smell sweet.
- Listen for noises that occur when the AC is on. This could be a mechanical problem with the compressor.
- Check if the AC temperature is too warm or too cold from what is normal or it alternates between both. This could be a clogged or bad AC expansion valve. If you notice the AC compressor is always on, this could also mean an expansion valve issue or a damaged compressor clutch.
- Turn off the car and check under the hood for loose or damaged wire connections to the compressor. A loose or damaged wire could cause a short or sporadic compressor activity.
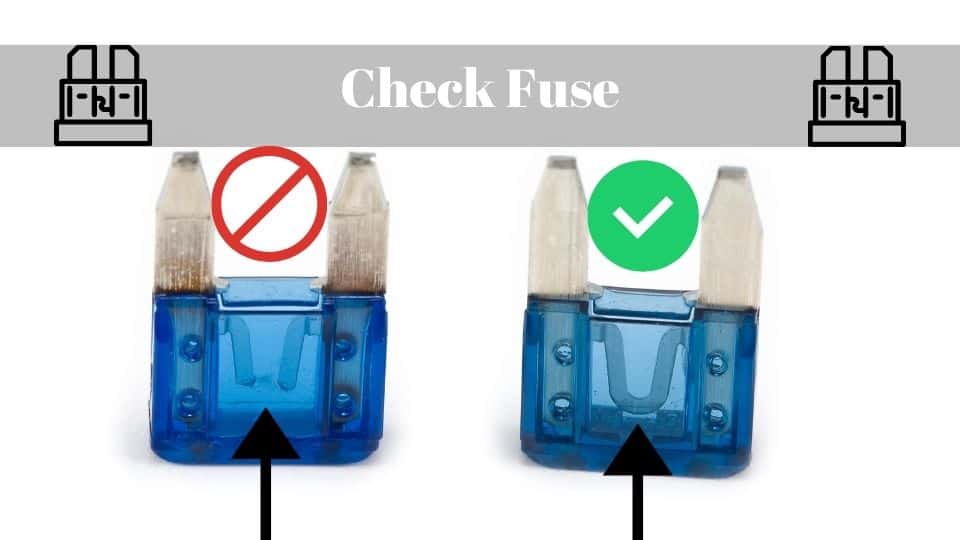
- Check the fuse box for blown fuses. Bad wiring or a bad compressor could cause a blown fuse.
- Check the compressor clutch – See video – Supply 12V power to the compressor clutch wire. If you hear and see the clutch engaging, the clutch is likely fine; if not, the clutch could be the problem.
- Check freon levels – Check the sight glass in the receiver dryer or other areas of the AC system or use a manifold gauge. If it has lots of bubbles or little liquid flowing through it when AC is on, the freon is low. This can cause the clutch to freeze.
- Check for a freon leak. If you suspect a leak you can turn the AC on, wait a couple of minutes for pressure to build, turn off the car and check the entire AC system using an electronic detector, or by spraying a soap and water solution on all areas needed and looking for bubbles. An easier method might be using a dye that you add to the AC system and using a black light to check where the leak is occurring.
- Check the cooling fans. If the cooling fans on the “condenser or radiator” are not turning on when the AC is on, this could be the problem.
Your compressor could be bad, but it could be a number of other issues as shown in the article below. Use the troubleshooting guides and with a little luck, you can find the problem without a big expense at the mechanic. (Use caution whenever working on your AC system and avoid turning the AC on if possible to avoid AC compressor damage.)
First Steps To Diagnose A Bad AC Compressor
There are different AC systems that work a little differently for different cars, but the compressor clutch is basically the same for each car.
To start with you can do some quick checks to narrow down the problem. I would start with what I know already and check those areas or parts. If your check reveals trouble, plan to spend more time focused on that area to see if you can solve the problem.
Some parts to check first are the compressor/clutch, the serpentine belt, and the refrigerant. These are usually the first to go bad.
An older car will likely have worn-out parts, while a newer car can have malfunctioning parts.
For older cars, you may want to start by:
- Listen for odd sounds from the compressor. If very noticeable, then it’s likely bad.
- Look at the clutch when the AC is on. “If the clutch is engaging and disengaging once every few seconds, this is a sign of low refrigerant.” (autozone.com)
- If you are not sure the clutch is working, you can test the compressor clutch with a circuit probe tester (Amazon Link) (See video below).
- Check freon levels – Bubbles or no liquid flow in the sight glass means freon needs to be added.
- Check the wiring. Look for loose connections and frayed areas.
- Check to see if power is getting to your compressor using a multimeter.
- Check the fuse box for a blown fuse.
- Check for freon leaks.
- Check the serpentine belt is not slipping or worn. (May hear a screeching noise.)
An older compressor clutch has seen a lot of use. It may go bad from lots of use, or a slow leak in your AC system. Low freon can cause excessive wear to your compressor, like an engine without oil. (See article – How Much Oil Should You Add Up In AC compressor?)
In addition, the wiring in your older car can become loose, damaged, replaced with the wrong type, or corroded. Wiring is another big issue with older compressors. Testing wiring and checking fuses will let you know if the wiring of the compressor is likely the problem.
Last, you want to check the entire AC system because the could be problems with other components or a leak in the system somewhere. This is where you will need a lot more time and patience. Sometimes this is the step when you need to go to a mechanic because it may take more time and expertise.
For a newer car, you may want to start with:
- Newer cars are more likely to have a freon leak or loose wiring rather than a worn-out compressor.
- Look at the clutch when the AC is on. If you see the clutch engaging and disengaging frequently, this could mean there’s not enough freon in the AC system. Your compressor is likely OK, but freon should be added to avoid damage to the compressor.
- If you’ve had your car worked on recently or done some type of engine service, you should check the wiring and see if power is getting to your compressor using a multimeter or circuit probe tester (Amazon Link). I’ve noticed that mechanics or service technicians from time to time forget something when they are in a rush.
- Check the fuse box for blown fuses.
- Check for freon leaks. Use the sight glass if your car has one to see if levels are good as described earlier. If no sight glass, you can try a manifold gauge set (Amazon Link) to test pressure and even add refrigerant.
Newer cars will have more electrical problems before mechanical problems unless there’s a leak that is likely caused by damage or someone who worked on the engine or AC system. I would focus on seeing if power is getting to the AC compressor clutch and fuses that might be blown.
(Cost to buy an AC compressor generally ranges from $150 – $300. Labor can cost about $500 – $1500 for the average car. If you are sure the AC compressor is the problem, you replacing it for cheap enough. Although doing it yourself can be fairly difficult for the beginner.)
Steps To Check Your AC Compressor
1. How To Test An AC Compressor Clutch
In this video, they discuss how to test a compressor clutch and how to avoid paying for a testing tool using a simple hack.
You can look at the compressor clutch while the AC is running to see if is operating normally.
A normal clutch would:
- Engage from time to time. Not always on or always off.
- Generally, they engage for about 15 seconds and then disengage for 15 seconds, and will cycle on and off until the cabin temperature reaches the correct temperature. Then they will cycle on and off as needed to maintain cabin temperature. Always on is not usually normal.
- It normally will spin with the pulley when it’s engaged, and remain still when not engaged.
- Generally, will not make much noise. Noise can be a serious problem. Metallic noises could mean metal particles are breaking off in the AC compressor and they can get stuck in other areas of the AC system meaning a bigger cost to repair.
- Spin smoothly without shaking or wobbling. Some vibrations are normal depending on the car but not excessive vibrations.
2. Look For Faulty/Loose Wiring On The AC Compressor

If you’ve checked your compressor and it looks fine and sounds fine, you’ll need to ensure power is getting to the different parts on your compressor.
The compressor clutch is the area to focus on first, as this part is one that most often has issues. As seen in the video above you can test to see if the clutch is working using a probe, but you’ll also need to check for loose or damaged wiring.
3. Check The Fuse Box For AC System Component Fuses

The fuse box is the next area to check. Check in your car’s service manual to find where the fuse for the compressor clutch is located. Check to see if the fuse is blown. If it looks fine then move on to other fuses that may be related to your AC system if any.
4. Check Freon Levels And Troubleshooting Using A Manifold Guage
If you have a sight glass to check freon level you can see if there’s any visible freon running through the line. It should look like liquid flowing through the glass. If you don’t see much, see bubbles, or nothing, make sure the AC is on and test the compressor first, and then you can better determine if the freon is low.
You can also use a manifold gauge set to check on the levels of freon. This instrument will help you check the pressure of your AC system and allow you to add freon if needed.
The manifold gauge can help you troubleshoot if your AC system has problems with:

Diagnosis – High and Low-Pressure Results (Credit Video Above)
- Bad AC Compressor – If both sides of your AC system are at the same pressure and the AC compressor clutch is engaged, this usually means the AC compressor is bad.
- Stuck Expansion Valve or AC Compressor Check Valve – If you see higher than normal pressure on the low-pressure side and lower than normal pressure on the high-pressure side, one of the valves could be stuck. It could also be the accumulator could be clogged.
- Clogged Orifice Tube/Expansion Valve – When you first connect the gauge and the high-pressure side is higher than the low-pressure side, when the car is off, a clogged tube or valve is likely.
- Low refrigerant/Freon – After you turn the car on and run the AC for a few minutes, look at the gauges and owner’s manual to find out if the pressure is correct. Low pressure on both sides is usually low freon.
- Too much Refrigerant/Freon – If your gauges show higher than normal pressure on both sides, there’s either too much refrigerant or air has gotten into the system.
- Fans Aren’t Working or Condenser Clogged – If you have high pressure on both sides this could also mean the refrigerant isn’t cooling enough. The fans could not work or the condenser grill could be clogged.
- Receiver Dryer, Expansion Valve, or Orifice Tube Are Clogged – If you see higher than normal pressure on the high-pressure side and lower than normal pressure on the low side, something is likely clogged.
5. Check The Compressor Cycling Switch

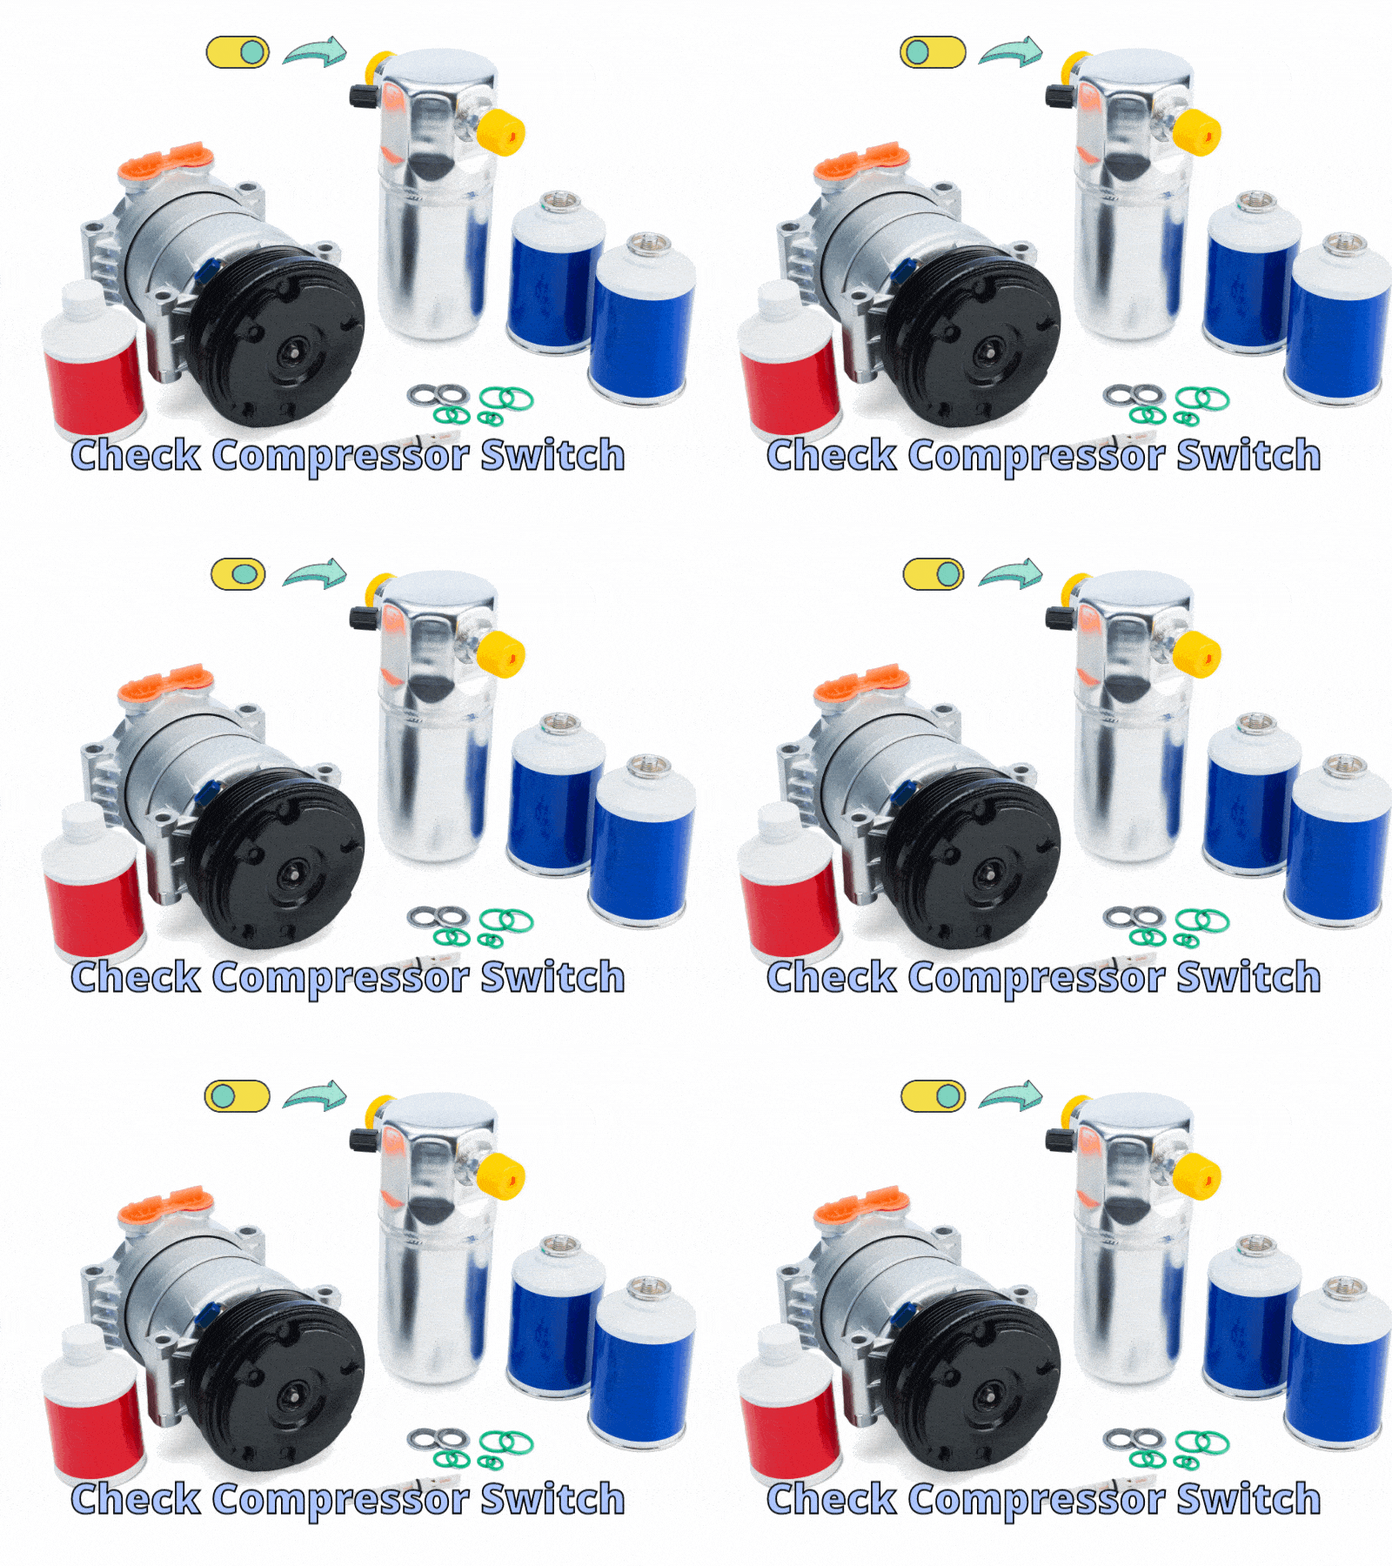
Next, you may need to check the cycling switches for your compressor. They are located on the end of the wire that is attached to the accumulator and other areas of the AC system. You will likely see a three-wire plug inserted into the end of the cycling switches. (see the picture below for what it might look like on your car.)

Normally these switches should be fine and will prevent excess pressure build-up in your AC system or excess low pressure by turning off the AC.
How do you know if the compressor cycling switch is bad?
- If your AC starts to go on then off intermittently. You’ll get warm air while the air is on sometimes. You likely have a bad switch.
- The switch can go bad because of age, and power surge, and can also get damaged fairly easily if something hits it. Check to see if wires are connected well and for any damage.
- You may notice a clicking sound if the switch is trying to go on and off. If it is switching on and off a lot, this is a symptom is malfunctioning.
- Feel the condenser tubes while the AC is on. The tubes come from the condenser and will be cold. If one or more is not, the switch could be bad.
- An OBD2 scanner tool is a low-cost way to (see article) find codes for your car that may indicate a bad sensor.
- You may also want to test the pressure (see article) in your AC system to see if you’re low on freon or have too much. This can help you determine if there’s a leak or if it’s normal and the sensor may be the problem.
In this video, the guy replaces his pressure cycling switch and shows how to bypass the switch to see if the AC is working properly as if the switch was on. (Caution! – If there is very high or low pressure in your AC system you don’t want to bypass the switch because the switch purposely turned off the AC to prevent damage.)
6. Checking For Freon Leaks To Determine If The Compressor Is OK or Damaged

Freon leaks can be common on older cars. The AC system is getting old and needs parts replaced and can have leaks. Even new cars can have leaks if they get into a fender bender or have had some work done on them recently.
Here are three ways to check for leaks in your AC system.
- Use an electronic freon sniffer. The advantage to using this method is you can detect the gas leaks inside the cabin of the car as well as areas inside the engine area.
- Use a UV refrigerant dye and or sealer. Using a UV dye that you inject inside the AC system can help you find leaks with a UV light. Then you can replace the part that is leaking.
- Use soap and water. If you are willing to take the time to spray all over the AC system with a solution of soap and water, you can find where gas is leaking out of the AC system.
In addition, you can use the method talked about previously, using an AC diagnostic gauge (Amazon Link) to determine the pressure of the AC system in your car, although it won’t show where the leaks are.
- Electronic Sniffers are helpful in some ways when diagnosing a freon leak. They are fairly inexpensive and easy to use. This can be good for some situations, but not others. Consider watching the video to see if this applies to you.
You can get a sniffer anywhere from $20 -$200. They are fairly easy to use and most will detect the freon gas leak from car AC systems. The one below is one I found on Amazon.

Amazon Link
- Refrigerant dyes are helpful when you need to detect and even seal refrigerant leaks. In the video below the guy goes over how he generally goes about detecting leaks.
These dyes are fairly inexpensive but may need some time, tools, and expertise to use. This is a good option for finding the exact location of a leak. Sniffers might come close but may not be exact in some situations. Consider watching the video to see if this applies to you.
You can get a dye kit from $25 -$100. They can be easy or complicated to use and most do a good job showing exactly where leaks are occurring. The one below is simple to use and is found on Amazon.

Amazon Link
- A bottle of soap and water is the last method I’ll mention. This is particularly helpful when you are pretty sure you know where the leak is occurring. You’ll need to build up pressure in your AC system by running the AC for a few minutes.
You can then turn off the car, open the hood and start spraying your soap and water solution on the parts of the AC system that you suspect are leaking. You’ll see bubbles forming if you’ve hit the right place with the soap and water solution.
Common places where leaks occur are:
- The Condenser
- Soft lines in the AC system
- Check high-pressure lines that are bolted to the compressor and the condenser. (Credit: gobdp.com)
Once you’ve found the leak you can replace the seal, line, or part that is broken or possibly use an injectable sealant dye to help seal small holes in the system.
Final Thoughts
Your AC compressor can go bad because of age, low freon that causes mechanical issues, a stuck valve, or the compressor clutch not working anymore.
Troubleshooting why the AC is not working properly will help you identify the exact problem so you can determine if fixing it yourself or taking it to the shop would be best.
Thanks for reading this article. If you are interested in other AC-related articles see the articles in these links. (Service A Car AC) and (Fix Your Car Vent) and (Why Does My Car Overheat When AC Is On?)
References
gomechanic.in
chapelhilltire.com
jdpower.com
cartreatments.com
mechanicbase.com
